
The 2023 Greta Gerwig Barbie movie has been making waves online since it’s full-length trailer dropped back in May of this year. And now, with early reviews showing positive feedback, it is likely that this film will be one of the most memorable movie releases of the year.
Given this, it’s only fitting that my first-ever custom doll be an homage to the upcoming movie. So, in this blog, I share with you how I transformed a thrifted doll into the ultimate Barbiecore princess.
What is Barbiecore?
According to CNN Underscored‘s research on the term, Barbiecore is a style trend that embodies Barbie (the doll line created by toy brand Mattel) fashion, which comprised of mostly fun, girly, (somewhat) over-the-top, and dominantly pink outfits and accessories.
Celebrities like Anne Hathaway and Margot Robbie have embraced this aesthetic and have incorporated the Barbiecore style into their red carpet appearances.
As a fan of the pink colour myself, I absolutely adore this trend and thought it would be a great inspiration for a custom doll project.
So, here’s how I went about it…
On buying a thrifted doll
As an amateur toy photographer and toy collector, I’m familiar with a few, local sellers of secondhand dolls and figures. Luckily, one of the online sellers I buy used toys from shared that she was selling a broken Ever After High Apple White doll from the Dragon Games line for only 150 PHP. This doll came without its clothes, accessories, and hands. It also has only one foot attached to its legs.
Excited to rise to the challenge of transforming something broken into something beautiful, I immediately purchased the doll and began working on its customisation.
The rerooting process
Initially, I had no intention of replacing the doll’s hair, especially since the original Barbie doll was blonde. However, upon further inspection, the hair had major glue seepage, which made it feel stiff and greasy. This is in spite of doing multiple hair washes to it.
Because of this, I decided to reroot ALL of the doll’s hair.

Now, I’m not going to enumerate every step of the rerooting process, but essentially, it involves cutting all of the doll’s hair, removing all the roots from inside its head, painting the head base with the colour of the hair, and then individually rerooting new hair strands to the doll head’s existing holes using a broken needle or a rerooting tool.
If you’re curious to see the step-by-step process, YouTuber Jay (a.k.a. ZombiexCorn) has a great tutorial video on the whole process of rerooting. You can watch it here.

It’s a painstakingly tedious process and it actually took me a few days to complete. The end result, though, was a pretty head of straight and silky pink hair that goes perfectly with my Barbiecore theme.
On making the clothes
I made the tube top using a pink fabric that had various gold horizontal lines on it. I made this garment by first measuring the doll’s upper body with the fabric and then, cutting it according to it’s size.
Then using a sewing machine, I sewed the edges so it wouldn’t fray. I then finished it off with velcro on the back to attach it to the doll’s upper body.
This is the end result for the top.

Since the doll already had “leggings” painted on it, I decided to make a tulle skirt to highlight the over-the-top aesthetic of the Barbiecore style. And I did this by sewing in folded pink tulle fabric to a piece of garter. Then, I covered the garter with a gold ribbon to match the horizontal line design on the tube top.
Honestly, the pink tulle fabric wasn’t cut evenly, but I think it adds character to the doll so I kept it like that.
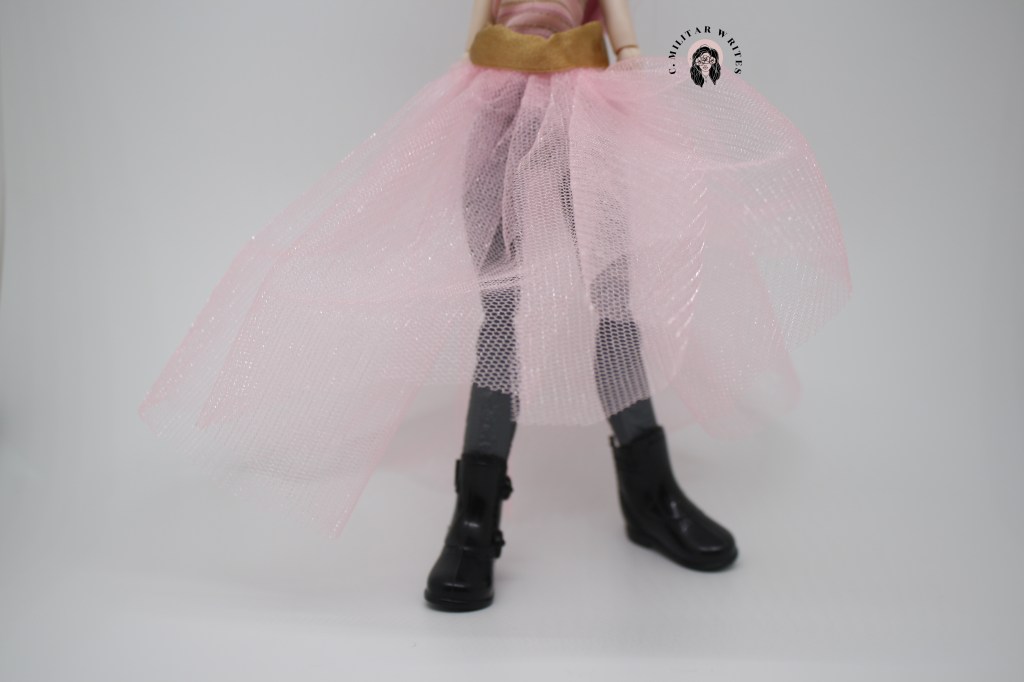
As for the shoes, I had an extra pair of doll boots at home. So, I decided to amputate the doll’s only foot and hot glue her feet-less legs to the insides of the boots.
In the end, I think it worked out well because it gave her Barbiecore style a slightly edgier look… and I’m all for it!
The end result
Here’s the end result of the hair and outfit all together:

Now, I know you might be wondering, where are her hands? Well, in all honesty, they haven’t arrived yet from the overseas seller I purchased them from. However, I decided to write about the process since the doll is already 98% complete and you can be sure that once the hand parts arrive, I’ll immediately attach them to the doll to FULLY complete her look.

Overall, I’m very happy with how this doll turned out. And even though there are things that could be improved on, I am satisfied with the final look.
Here’s to hoping this can be the start of more custom doll projects.

Via GIPHY
***
If you want to stay updated on my latest articles and stories, you can follow me on Facebook or Instagram.
